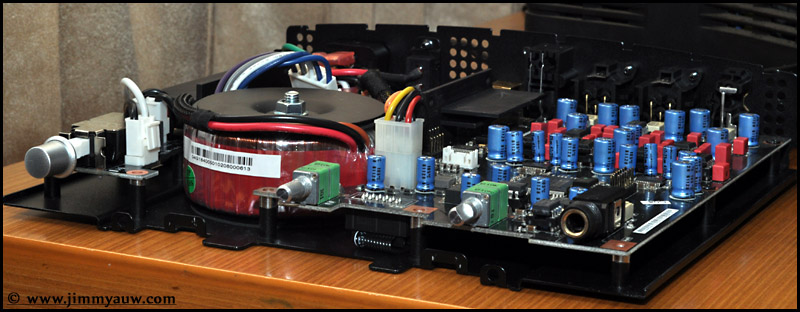
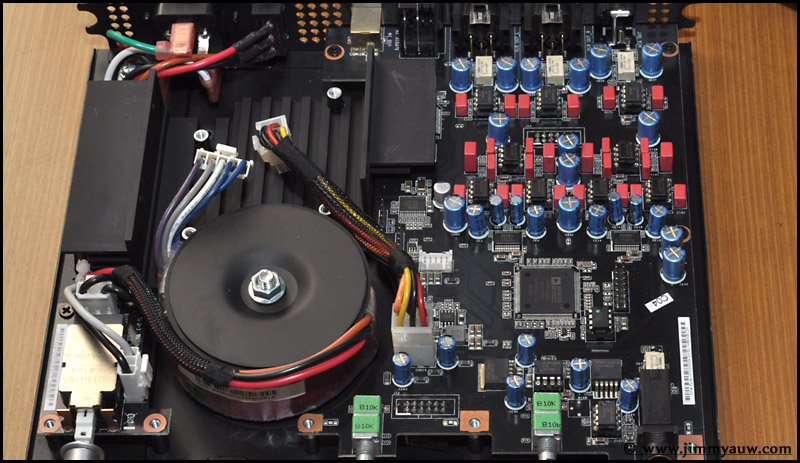
Don’t call me nuts as I think disassembling Asus Xonar Essence One shouldn’t be categorized as that 😉
I took 30 minutes, more or less, to disassembly this stuff. The hardest part was to remove the ‘glued’ heatsink. It was quite tough.
View from the top, after the front panel removed. Next, the hardest one was to remove the power supply board heatsink. It was ‘glued’ to the main chassis. It was double-tape actually, but it was very-very-very strong one. I needed to be very careful as I didn’t want to put too much pressure then the heatsink could hit the main PCB (and I will got a nice expensive USD 500 paper weight!).
Ta-daa… All parts have been disassembled. Including the unnecessary toroidal power transformer.
The audio board module. It’s populated with a lot of tiny components and tiny solder hole. Not quite sure I could use better quality parts as the solder hole are so small and tight. All the capacitors are Nichicon ‘Audio’ and Wima. Both are not my favorite, although most of the time they are not bad. This gonna be a tough and long task.


Agus
March 28, 2013 16:03Sore Ko,
Mantep.. ga lama lagi tuh ilang semua yang warna biru ganti warna merah hehehe… trus bertebaran resistor biru sama resistor yang ga pake baju…. 😀
Salam 🙂
Auw Jimmy
March 28, 2013 22:29Hi Bro Agus,
Enggak segitunya juga kali ya? 🙂
Thanks.
Wage
January 28, 2015 21:36How do you remove the front panel? I can’t get it off of the volume knobs!
Auw Jimmy
January 29, 2015 16:59Hi Wage,
Just pull the volume knob, then you need to unscrew the nuts which locks the potentiometer to the front panel.
Thanks.