Ken sent me more pictures. It would be interesting as the production is entering the final stage. I will not write much about this transformer as I have done that in my first post here. Feel free to check the first post.
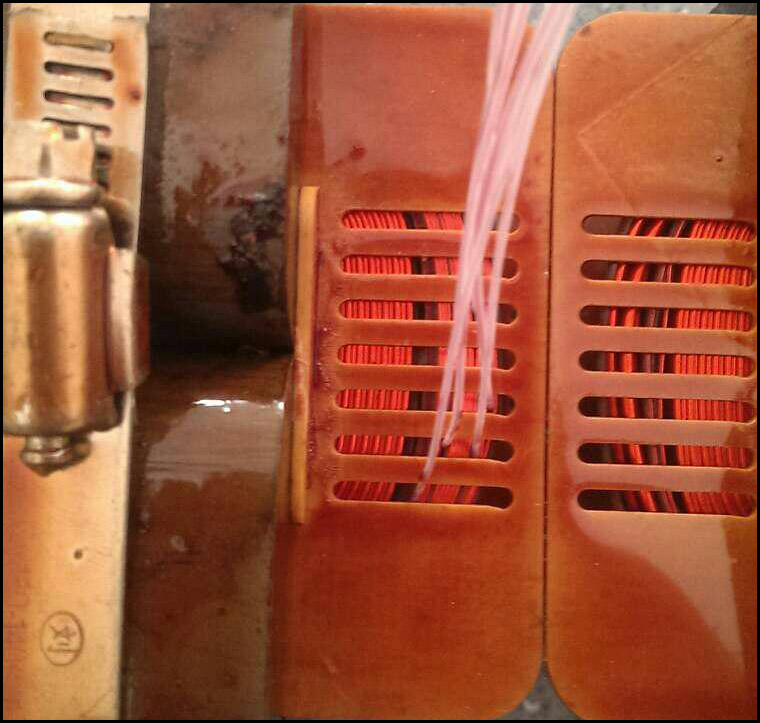
So here you go. We can see the layers of the windings are neatly aligned. I have ever done windings of such transformer and to be honest, it’s not easy to have such neat work.
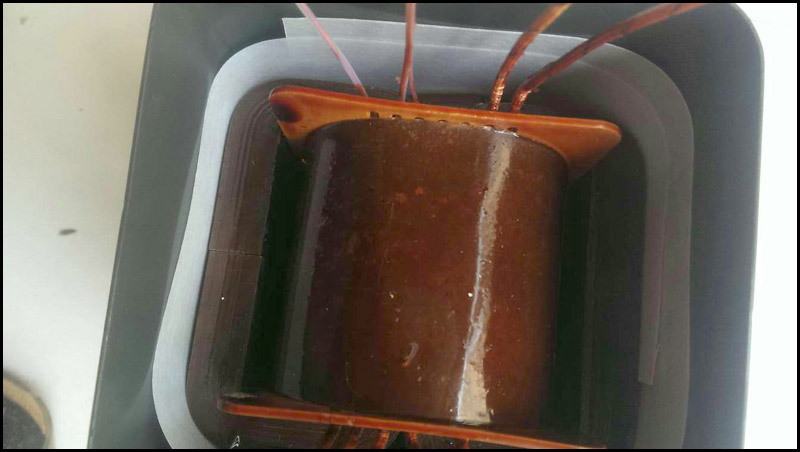
The transformer inside the case. Be ready for the potting session. This should be the last picture before the transformer is completely potted.
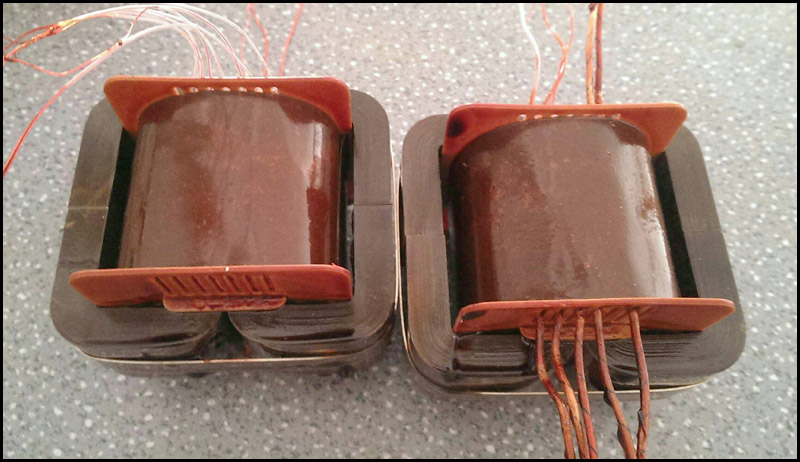
Final appearance of the power transformer after varnishing process. The varnishing process itself requires extra time as there are several method used (not just pouring varnish to the transformer).

Another shoot from the top.

Another shoot from the side.

Again, another shoot from the other side 🙂
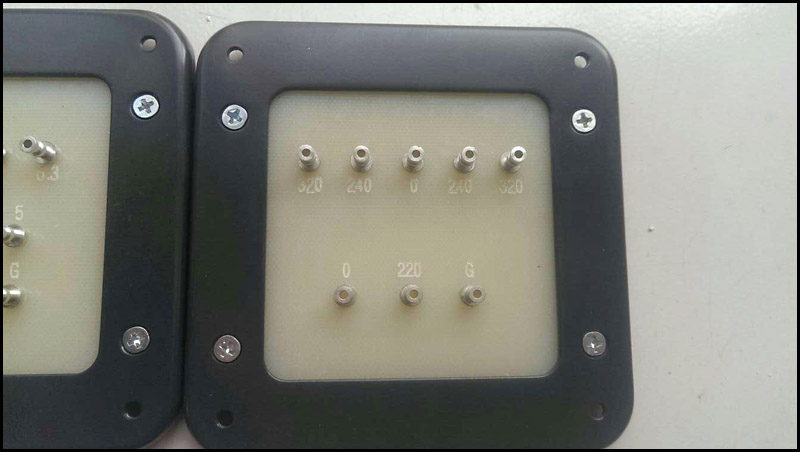
The design of the bottom plate. The pins have been marked with respective output voltage.
I believe Ken will be using below equipment to vacuum the transformer in order to make sure the varnish is perfectly impregnated inside all the windings. This is not the stuff from your mom’s kitchen 😉

The compressor – off course!

I believe some more pictures will follow during the potting process.


